🎉 Up to 70% Off Selected ItemsShop Sale

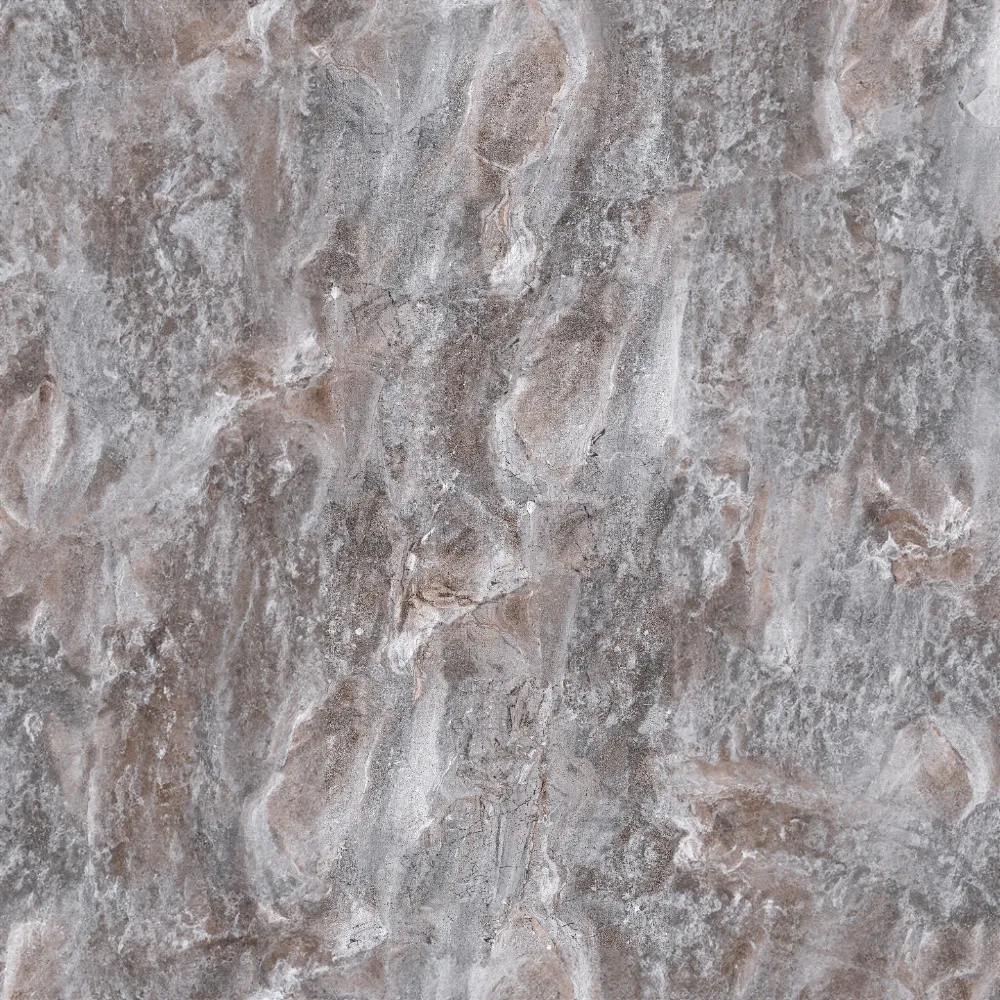
Grey Concrete SPC Shower Panels - 2 Pack
- Solid-core
- 100% waterproof
- Realistic concrete finish
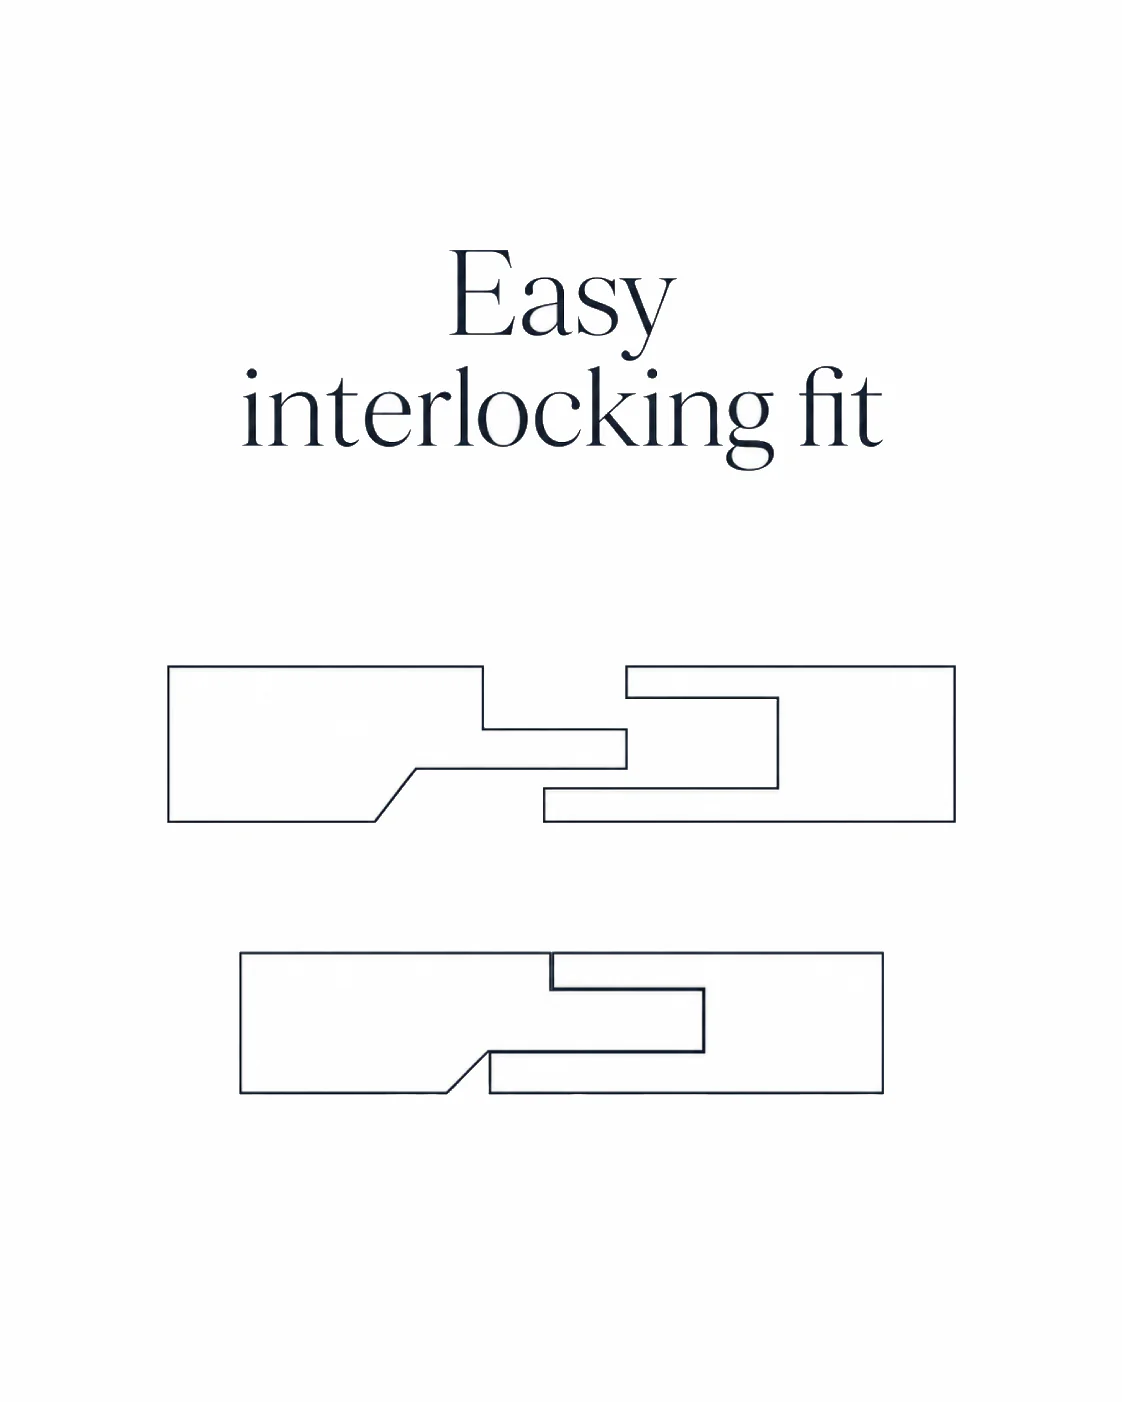
- Easy interlocking fit
-
Durable, scratch & UV resistant
- Class 1 fire rated
- 10-year domestic guarantee
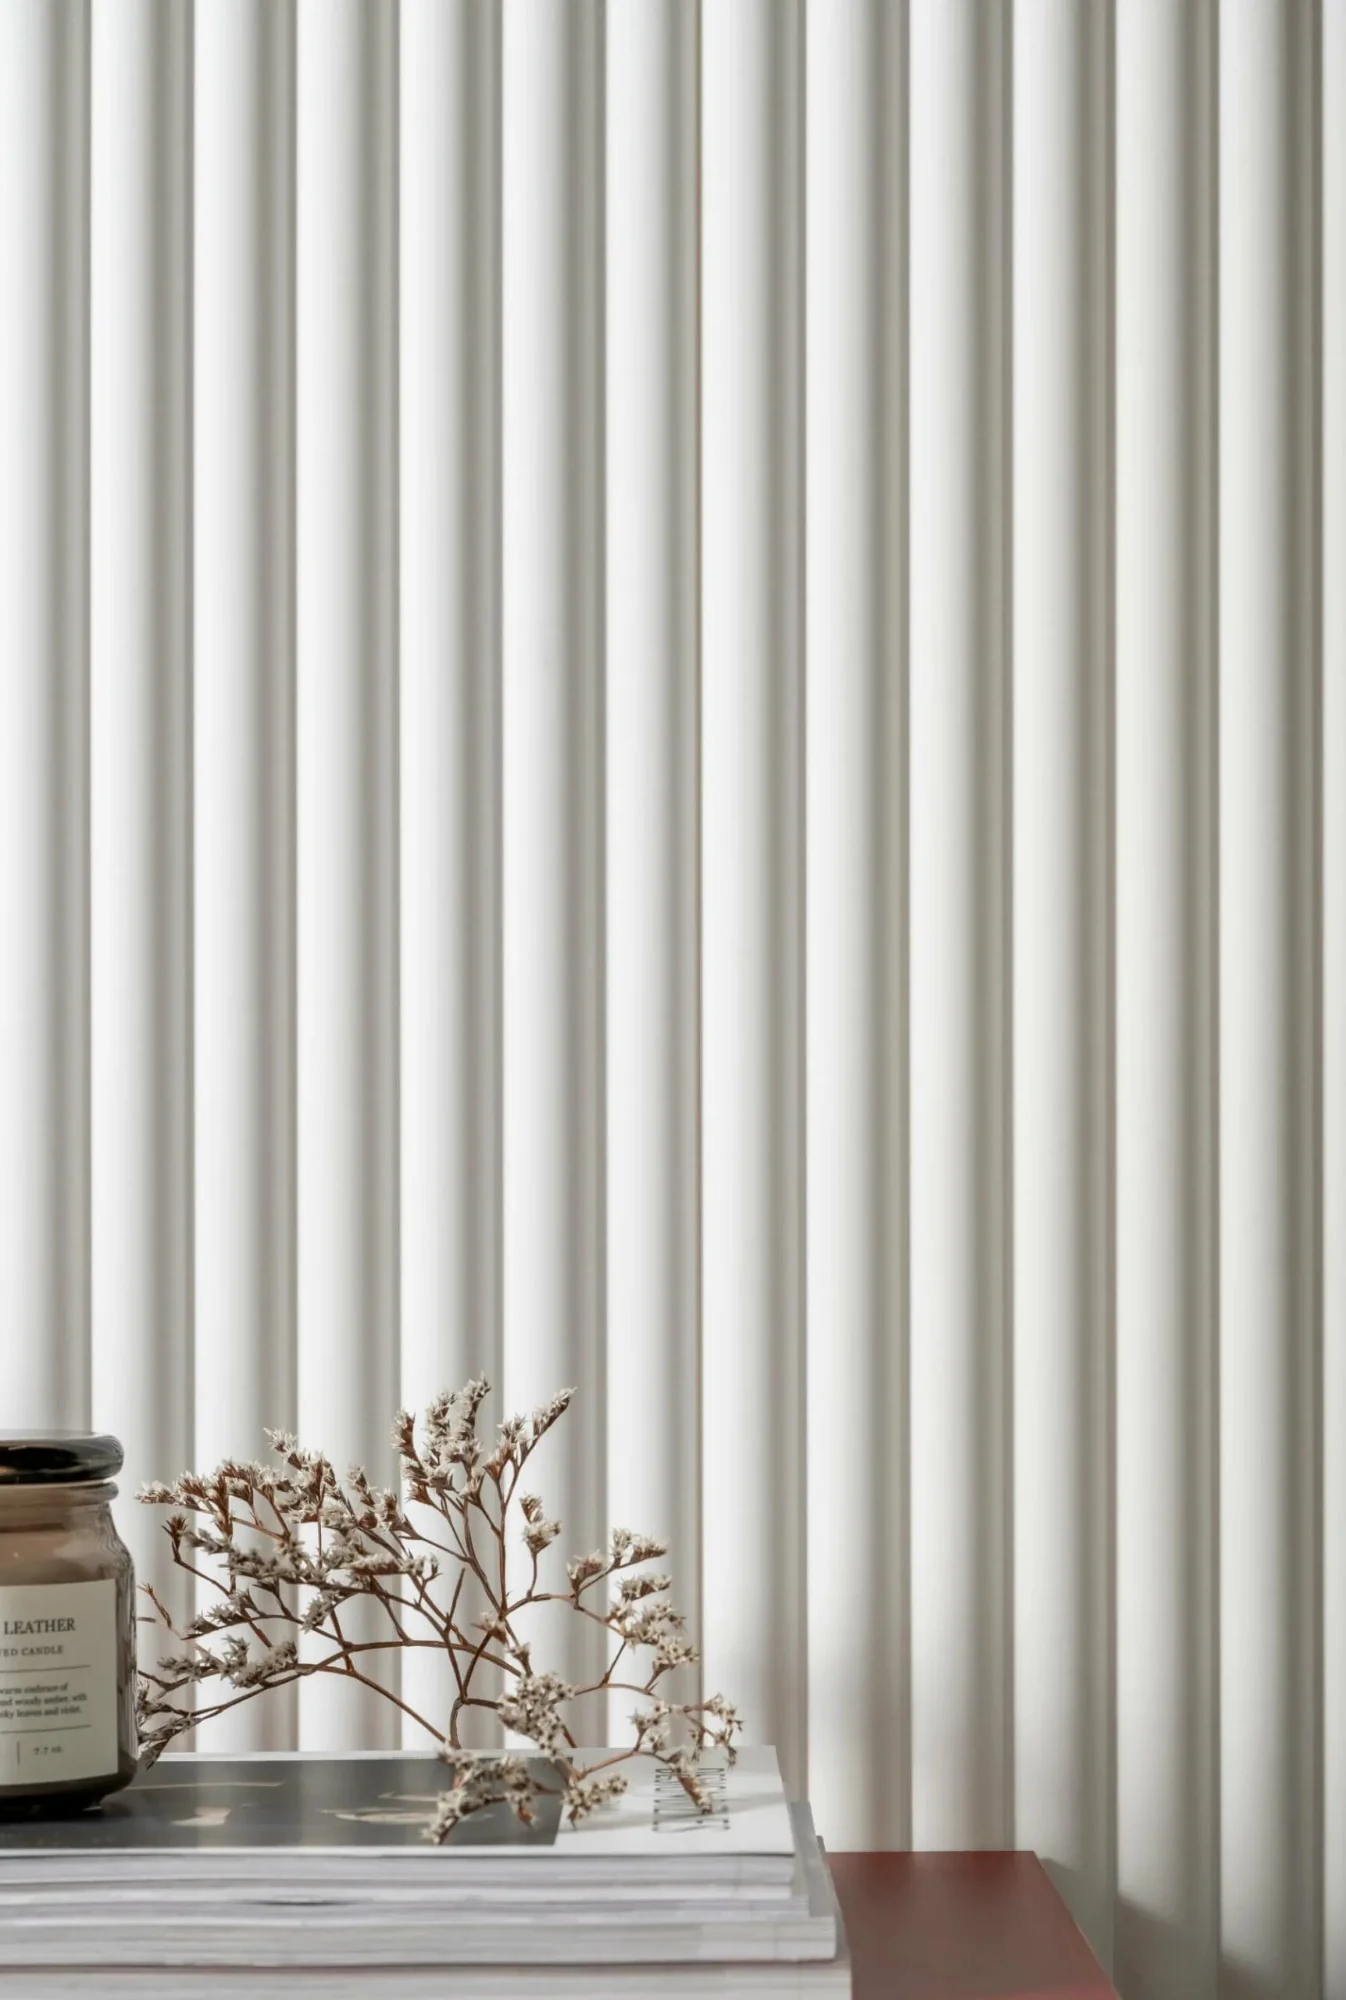
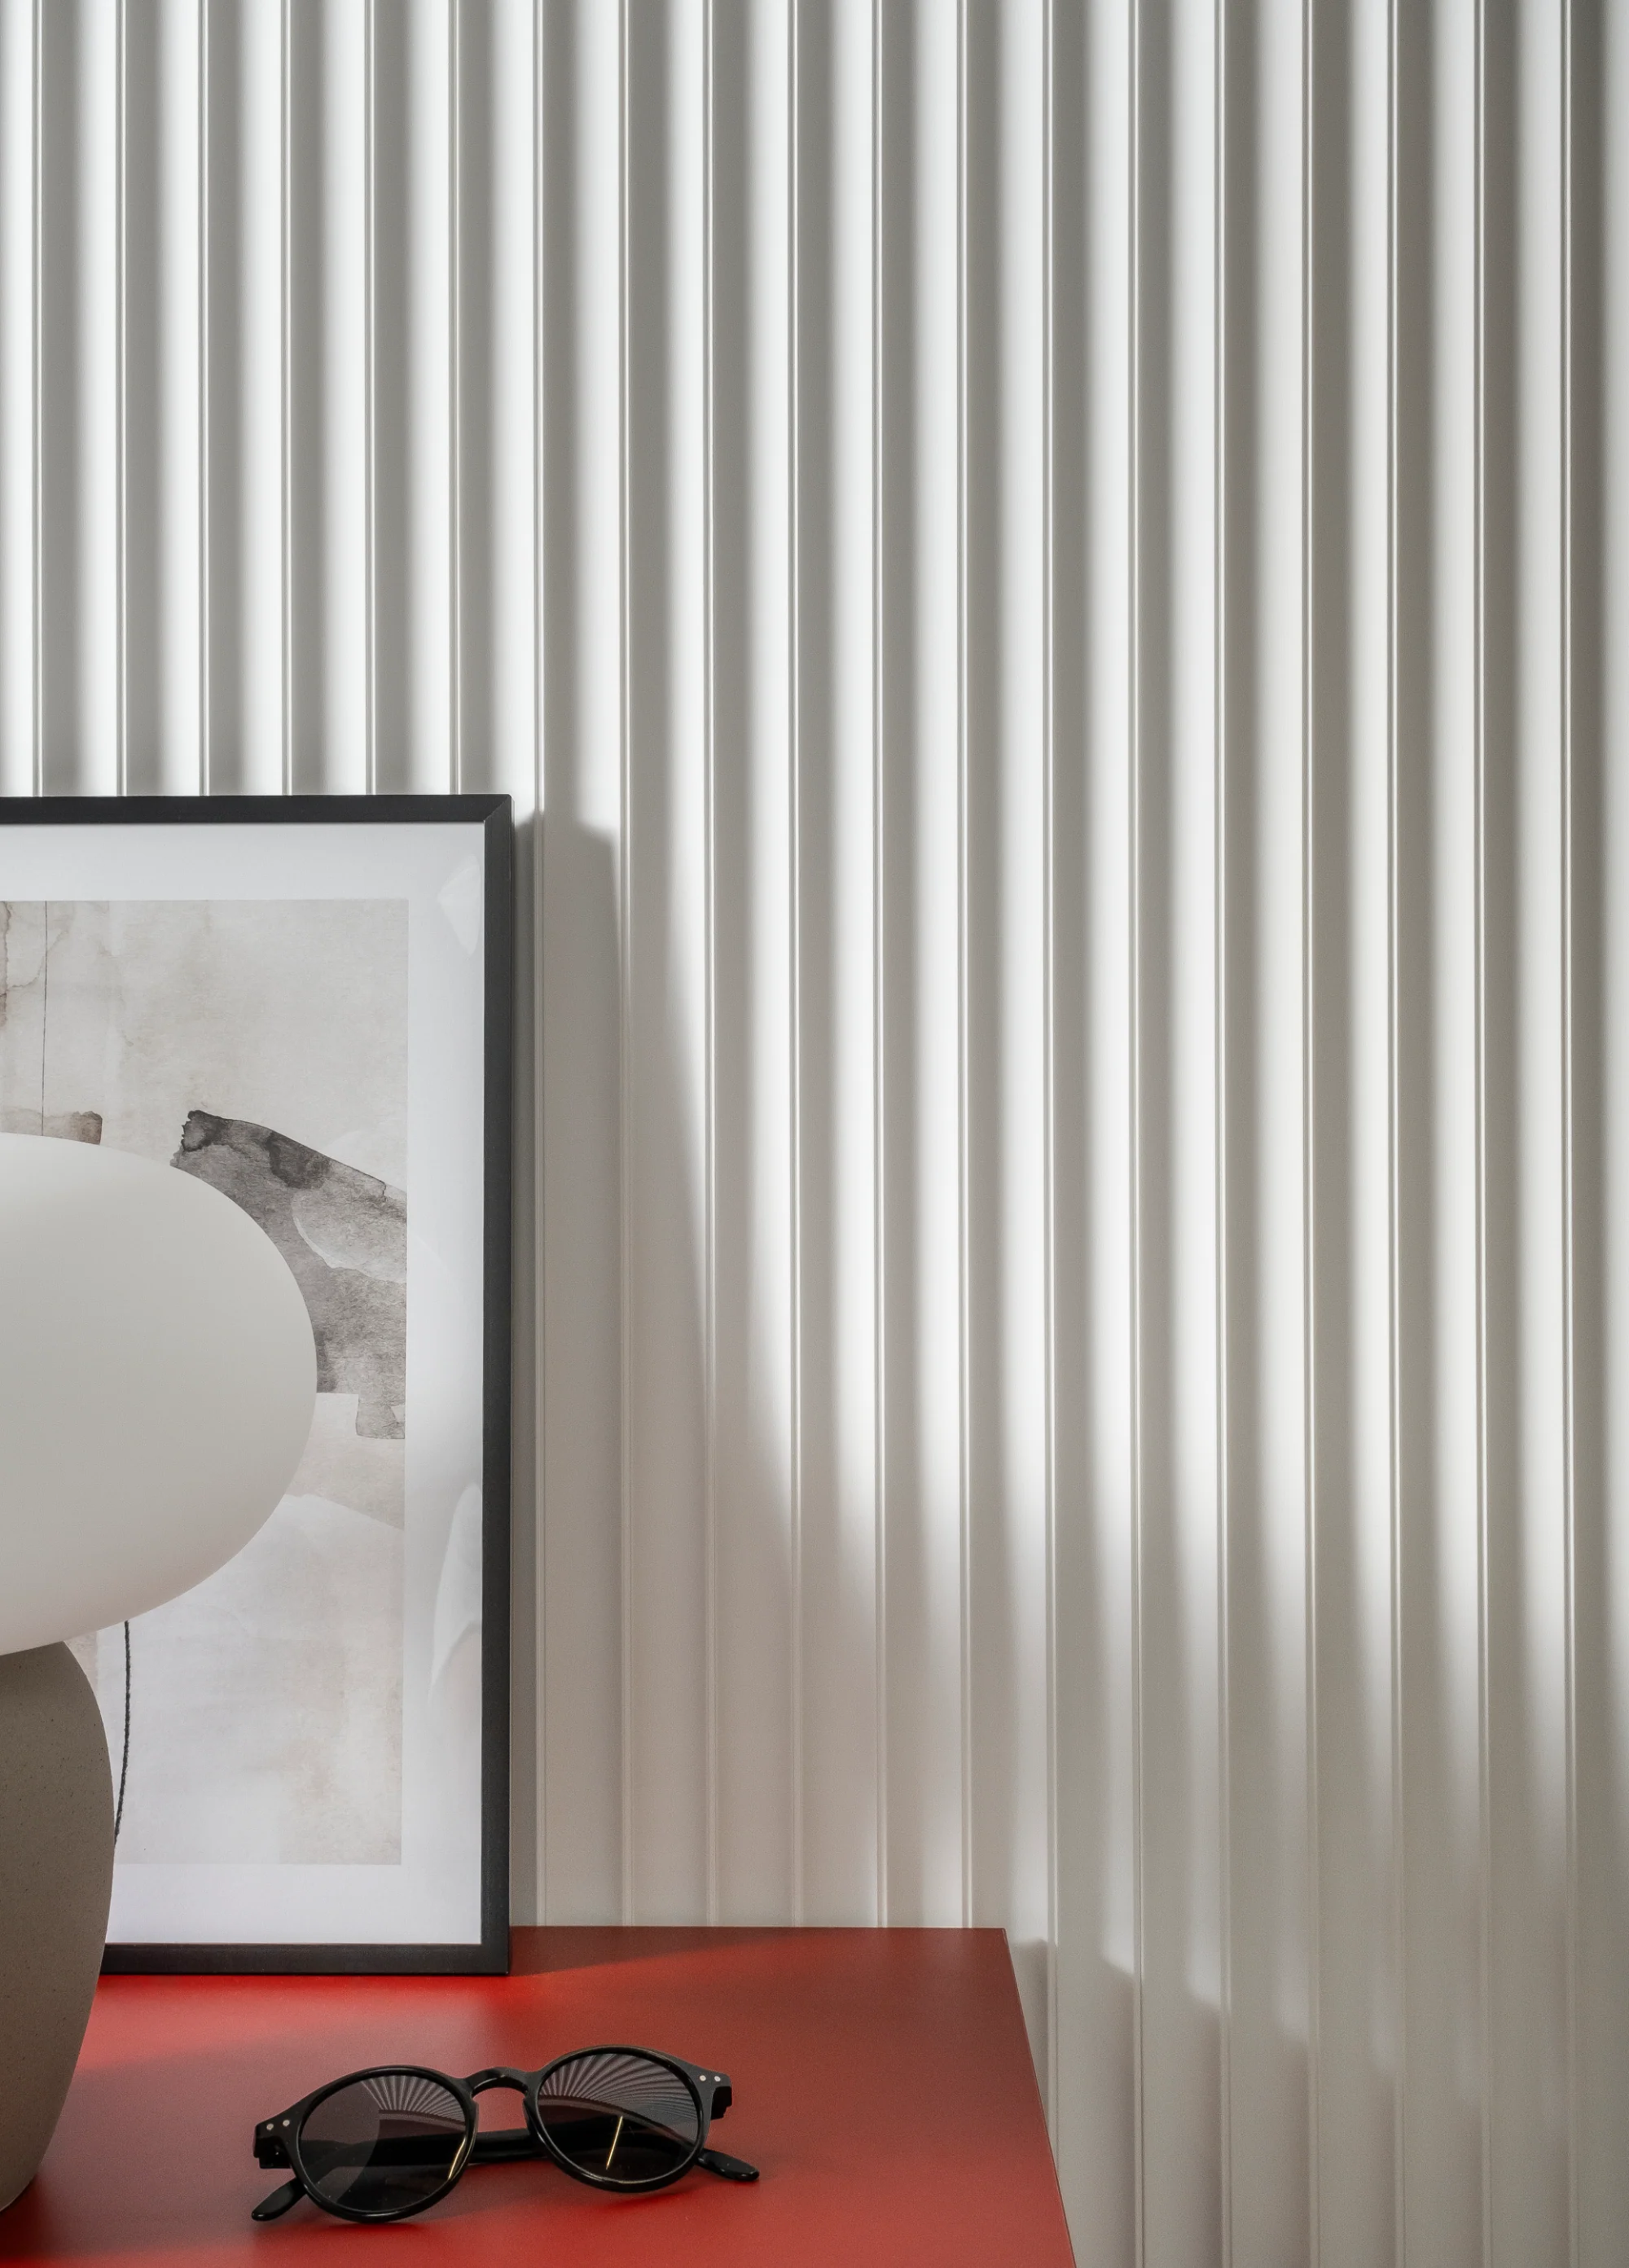
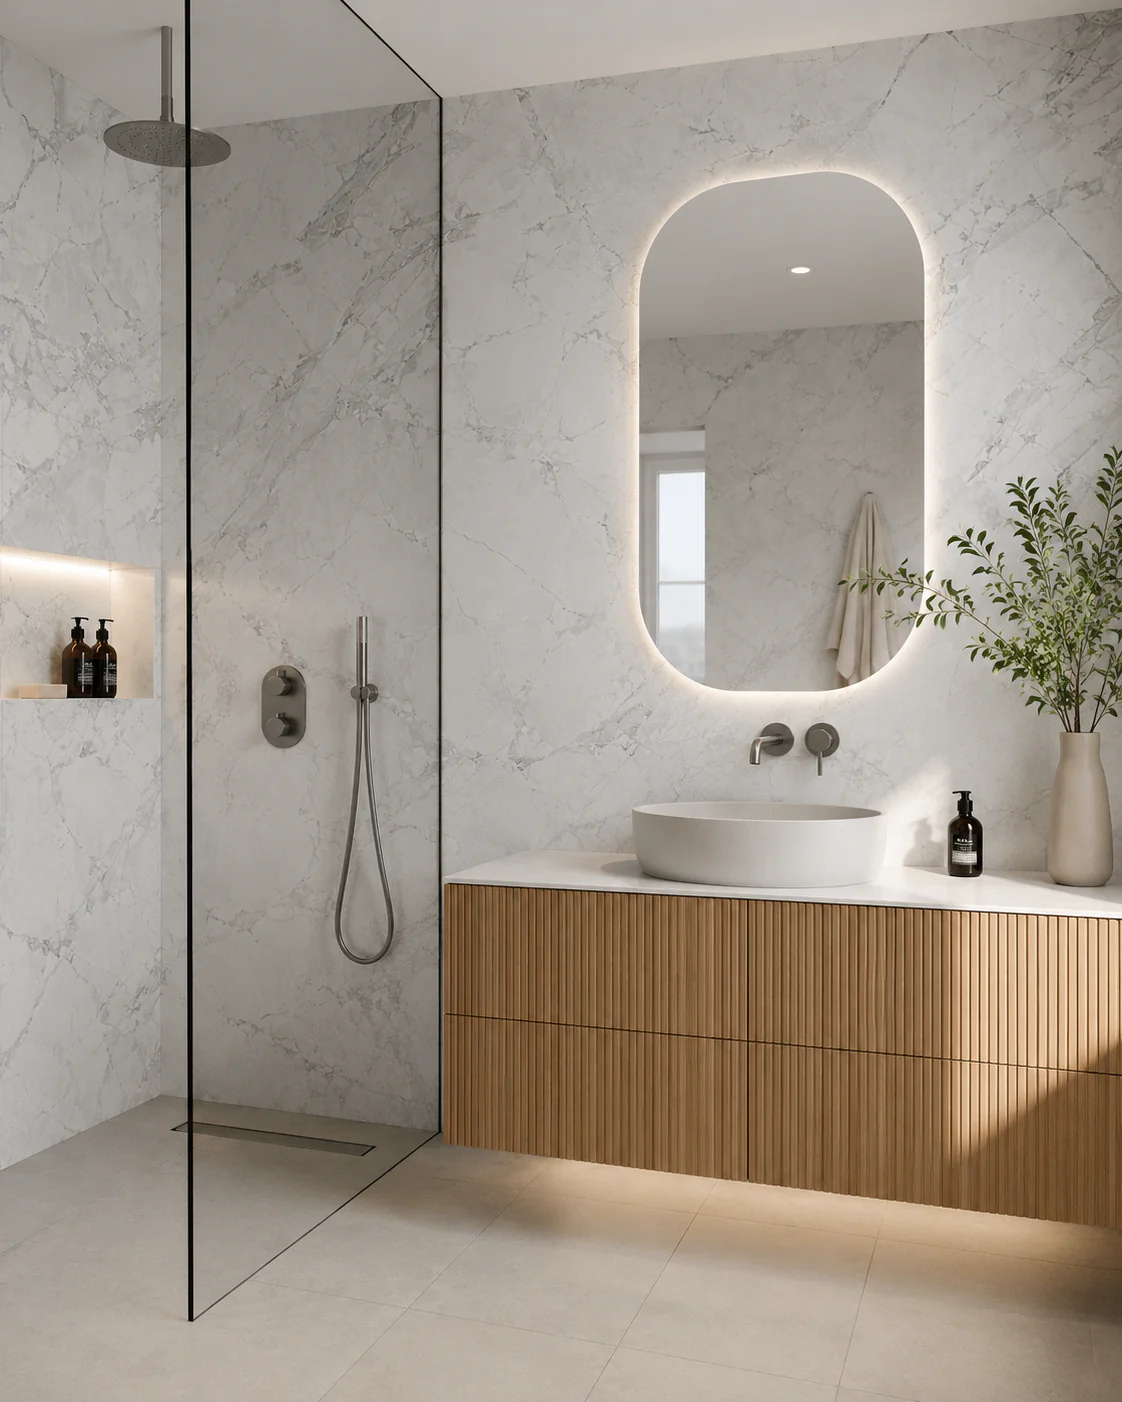
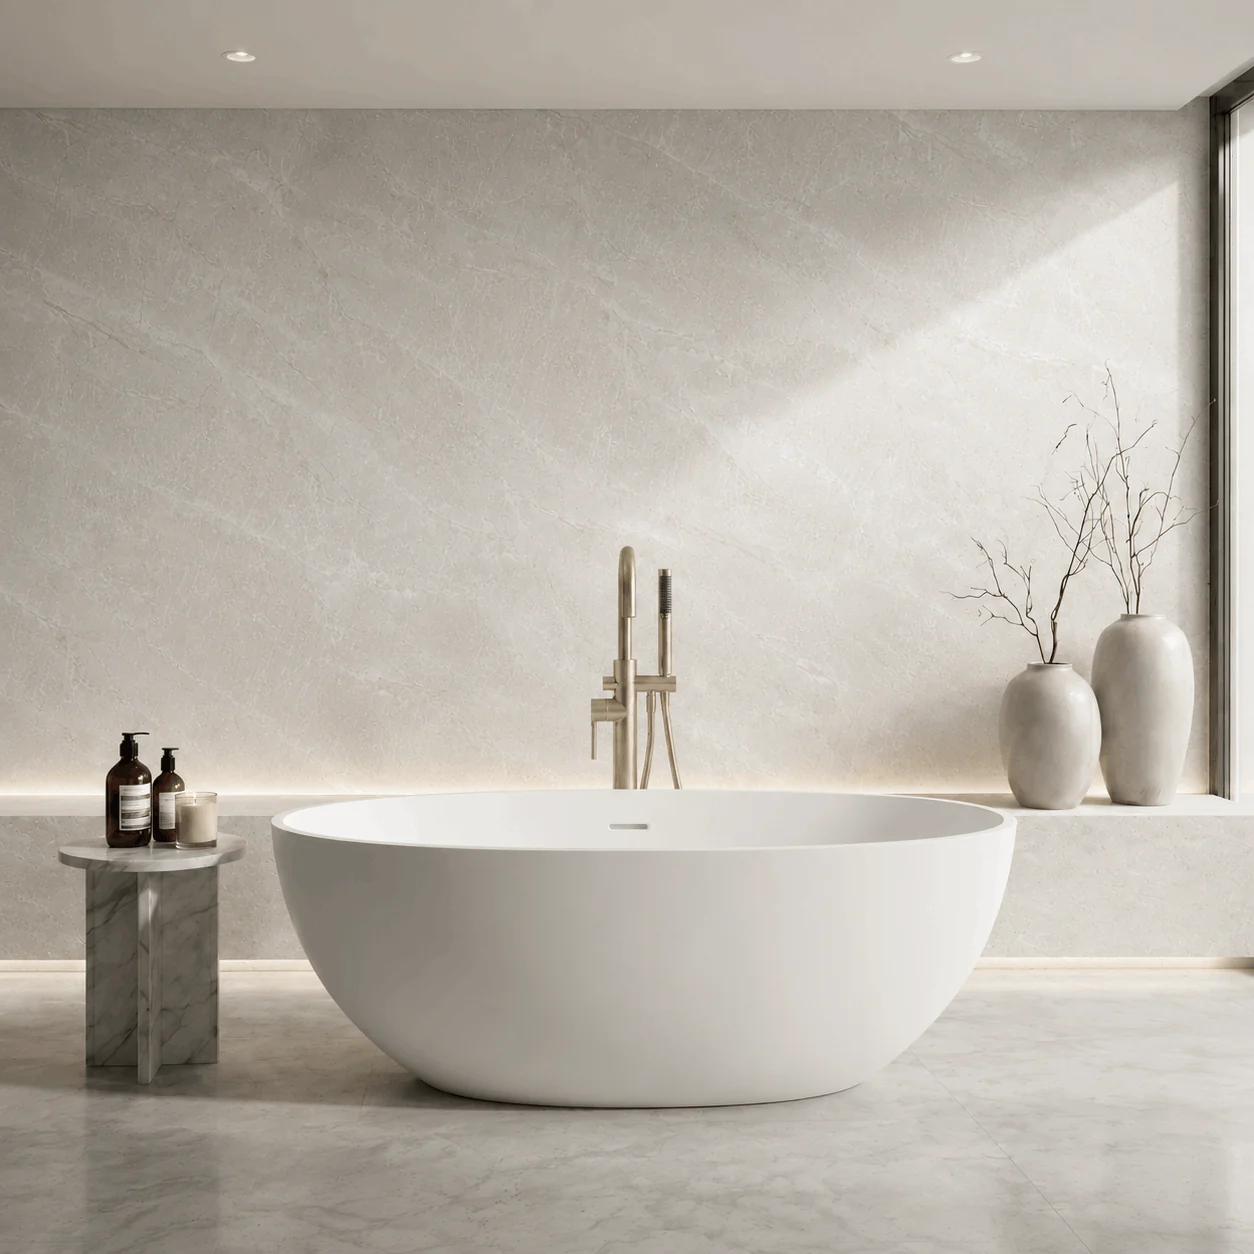
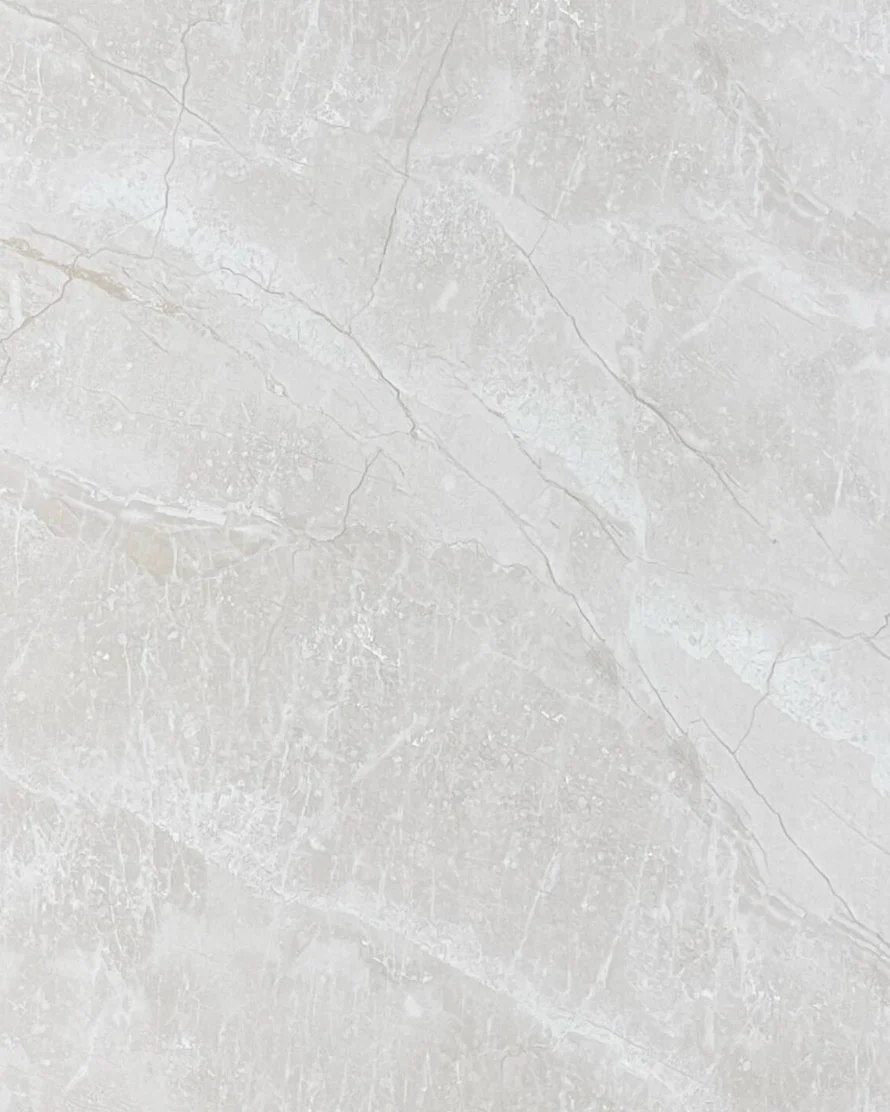
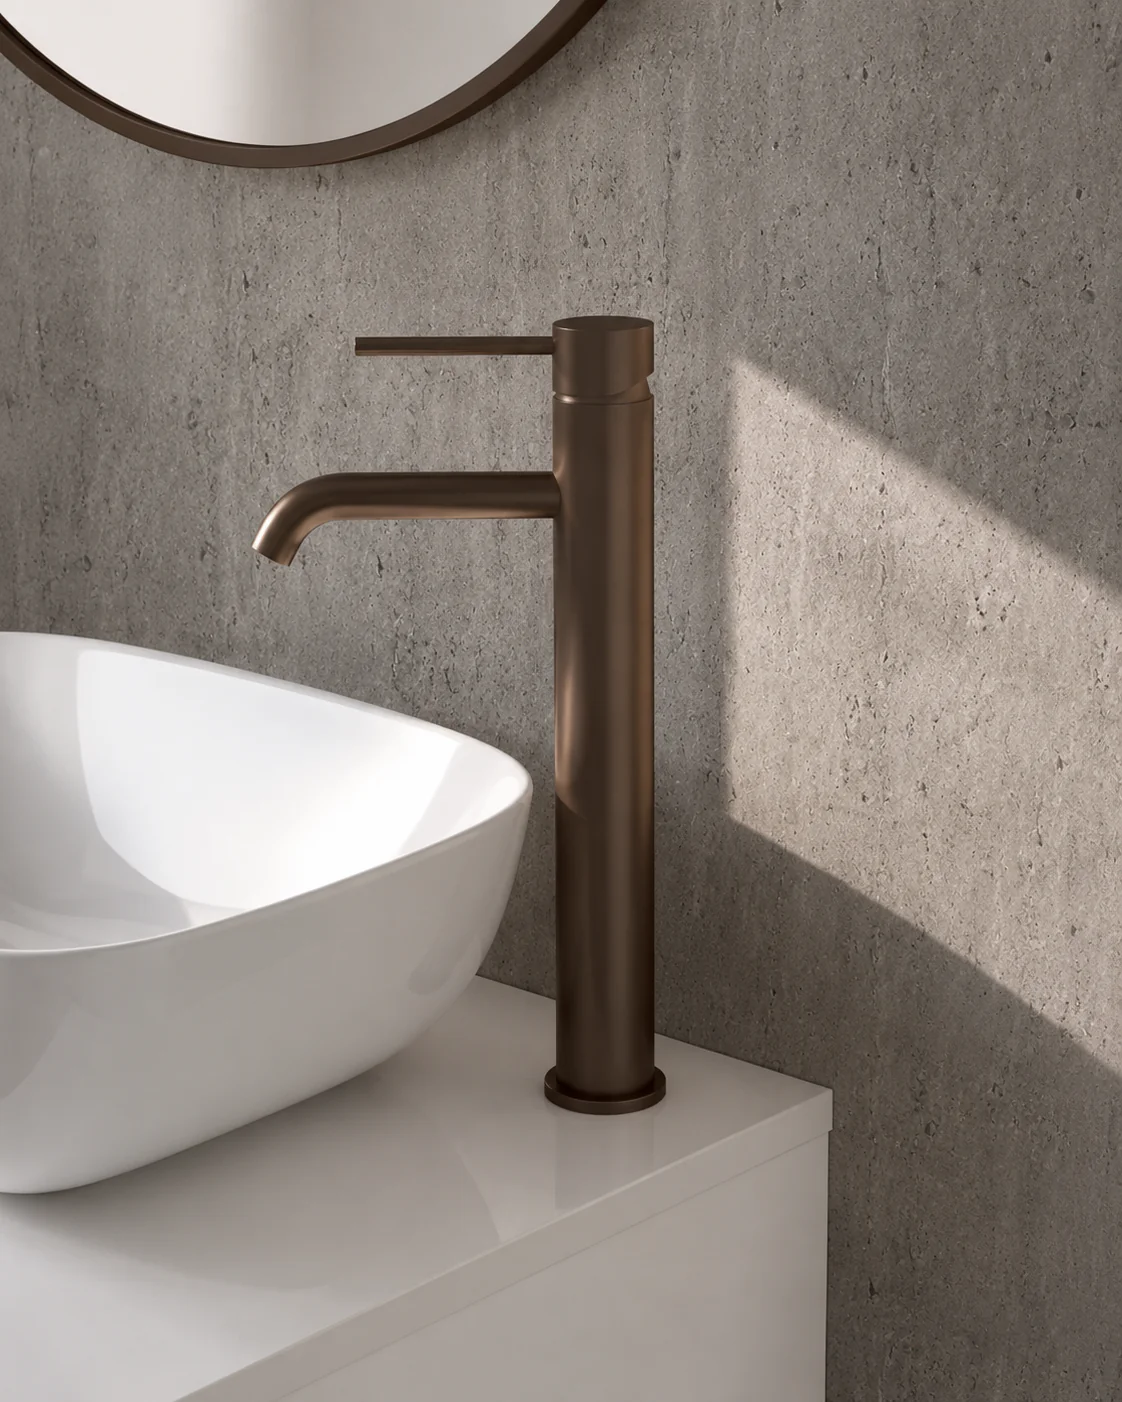
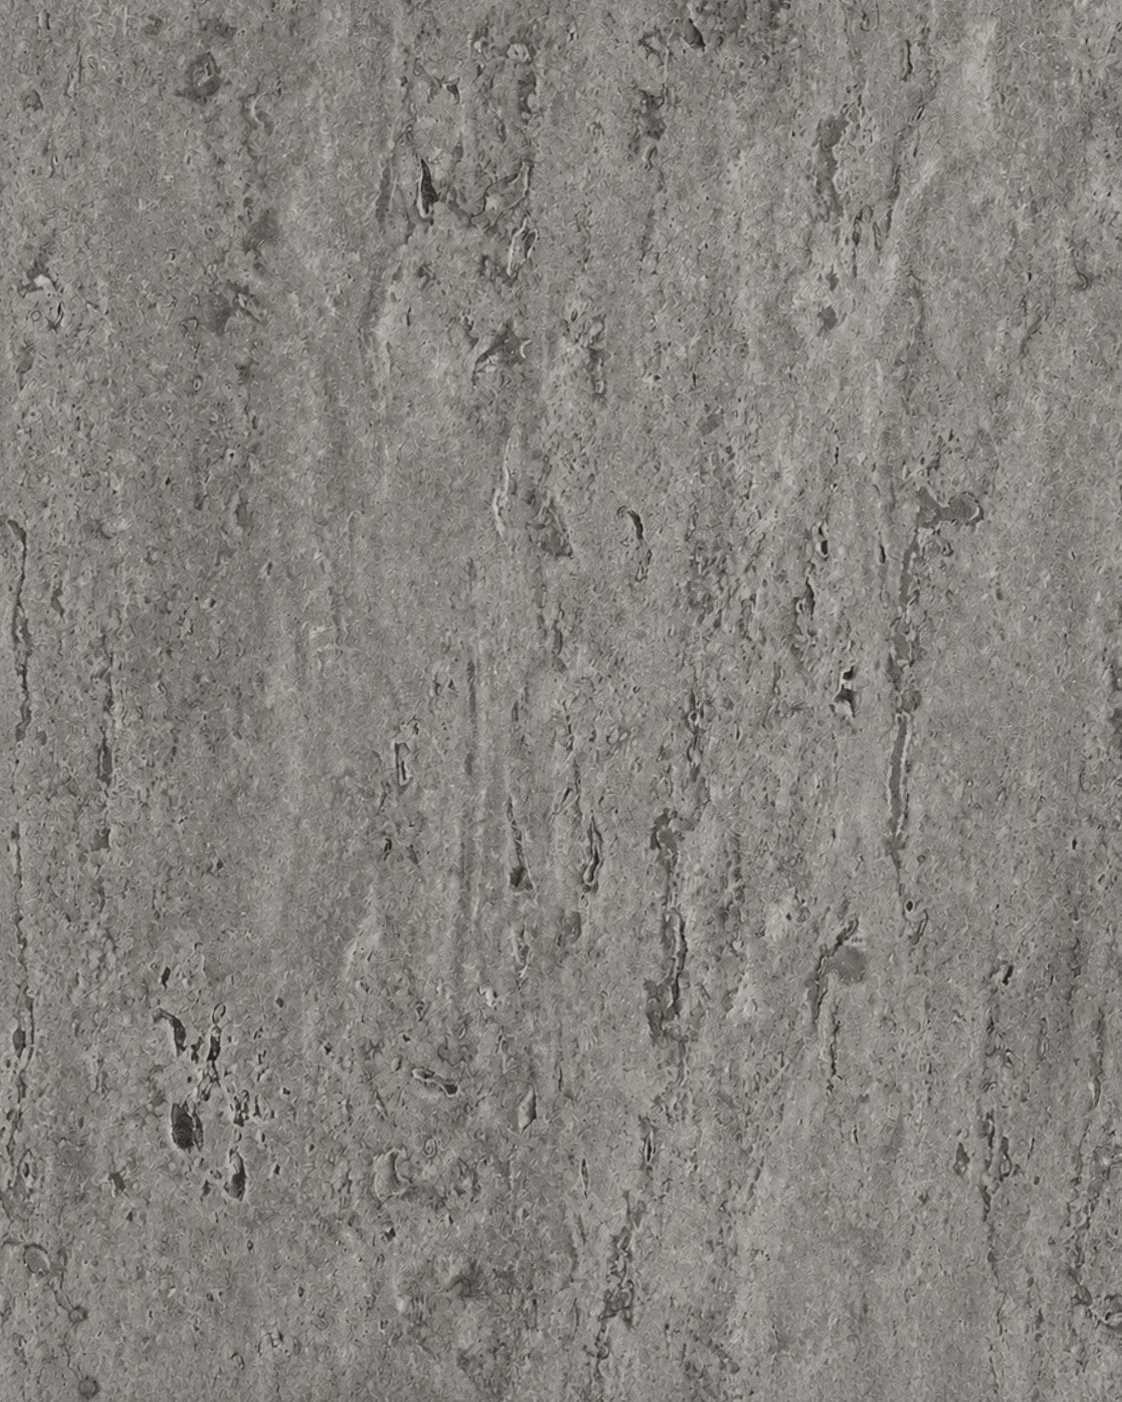
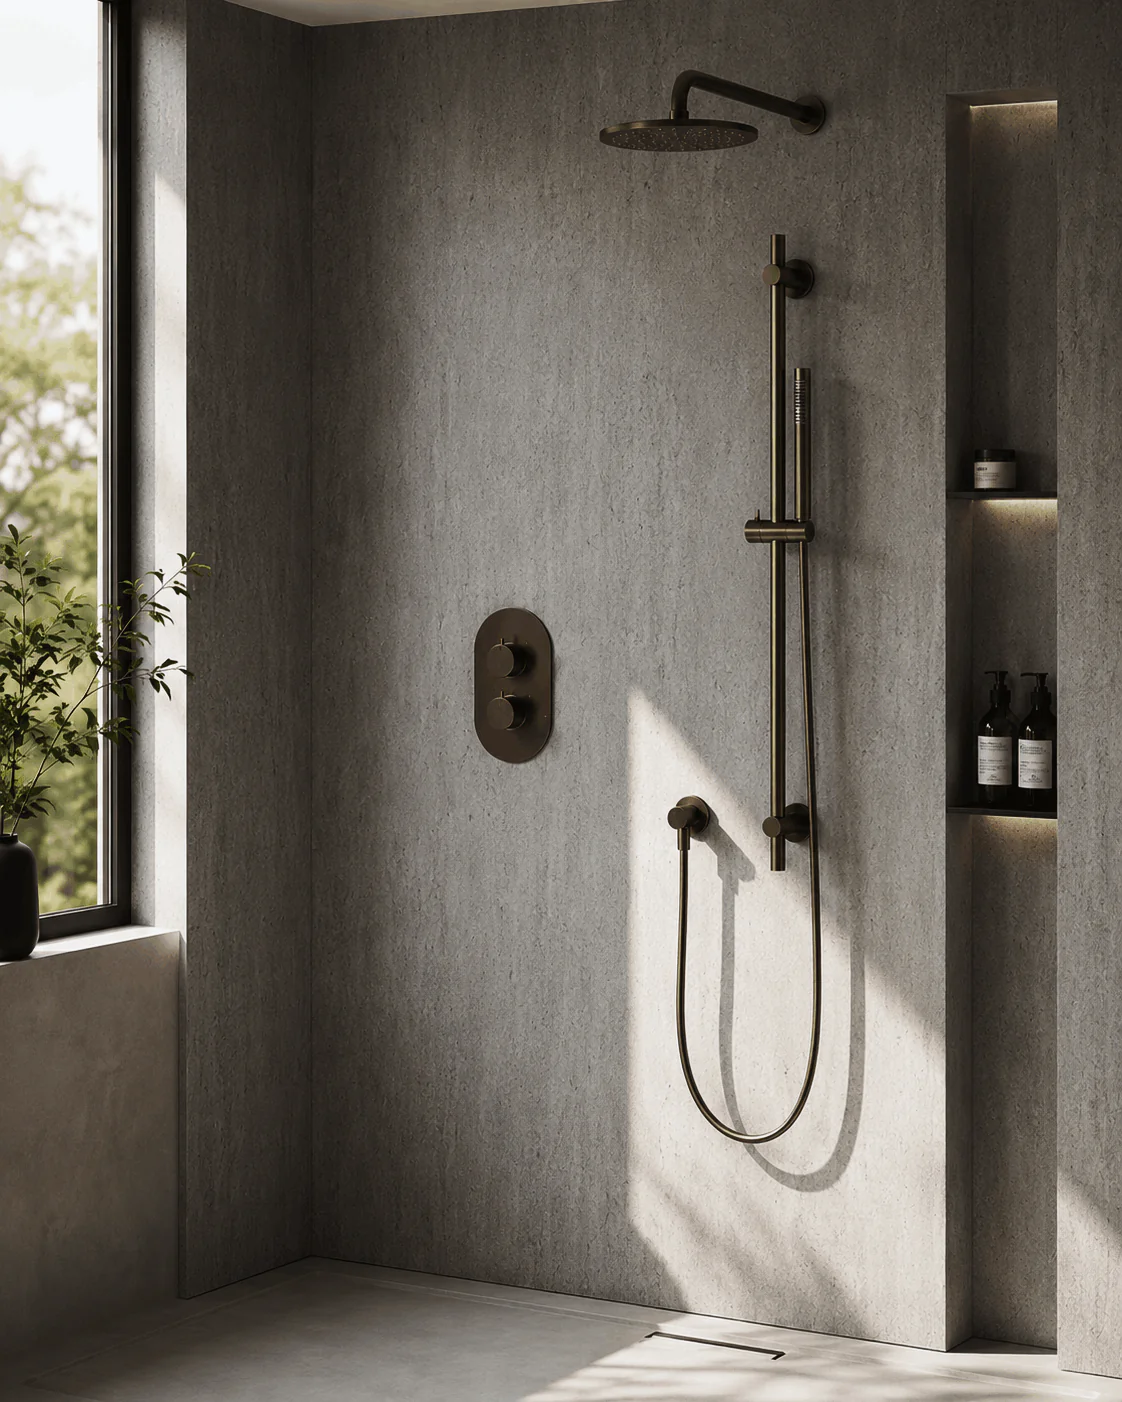
Bring a contemporary industrial look to your bathroom with our Grey Concrete SPC Shower Panels. Part of our premium SolidStyle collection, these waterproof, solid-core panels feature a realistic matt concrete finish.
How to fit:
- Prepare the wall – Make sure the surface is clean, dry and free from loose paint, wallpaper or debris.
- Measure and cut – Measure your wall carefully, mark the panel and cut to size using a circular saw or jigsaw. Apply masking tape along the cut line for a cleaner finish.
- Apply adhesive – Spread grab adhesive evenly across the back of each panel before fixing it to the wall.
- Install panel by panel – Start from the left and work across the wall, connecting each panel using the tongue and groove edges for a seamless finish.
- Trim the final panel – Measure the remaining gap, cut the last panel to fit, then secure it with adhesive.
- Finish and seal – Add finishing trims if required and apply a small bead of silicone to joints and corners in wet areas for extra waterproof protection.
$68.84
Original: $196.69
-65%Grey Concrete SPC Shower Panels - 2 Pack—
$196.69
$68.84Product Information
Product Information
Shipping & Returns
Shipping & Returns
Description
- Solid-core
- 100% waterproof
- Realistic concrete finish
- Easy interlocking fit
-
Durable, scratch & UV resistant
- Class 1 fire rated
- 10-year domestic guarantee
Bring a contemporary industrial look to your bathroom with our Grey Concrete SPC Shower Panels. Part of our premium SolidStyle collection, these waterproof, solid-core panels feature a realistic matt concrete finish.
How to fit:
- Prepare the wall – Make sure the surface is clean, dry and free from loose paint, wallpaper or debris.
- Measure and cut – Measure your wall carefully, mark the panel and cut to size using a circular saw or jigsaw. Apply masking tape along the cut line for a cleaner finish.
- Apply adhesive – Spread grab adhesive evenly across the back of each panel before fixing it to the wall.
- Install panel by panel – Start from the left and work across the wall, connecting each panel using the tongue and groove edges for a seamless finish.
- Trim the final panel – Measure the remaining gap, cut the last panel to fit, then secure it with adhesive.
- Finish and seal – Add finishing trims if required and apply a small bead of silicone to joints and corners in wet areas for extra waterproof protection.